
Imagine finishing a roll, only to discover that the film never moved across the camera. You can reduce that risk by checking the leader and film advance before the first shot. Rewinding deserves the same attention: open the back too early and light can reach photographs you have already taken.
Quick answer: With a typical manual 35mm camera, seat the cassette, attach the film leader to the take-up spool, check that the perforations engage the sprockets, then close the back and advance to frame 1. When the roll is finished, release the transport mechanism and rewind in the direction marked on the camera. Open the back only after the film is fully inside its cassette. Motorized cameras often use a leader-position mark and handle advancing and rewinding automatically. The exact steps depend on the model.
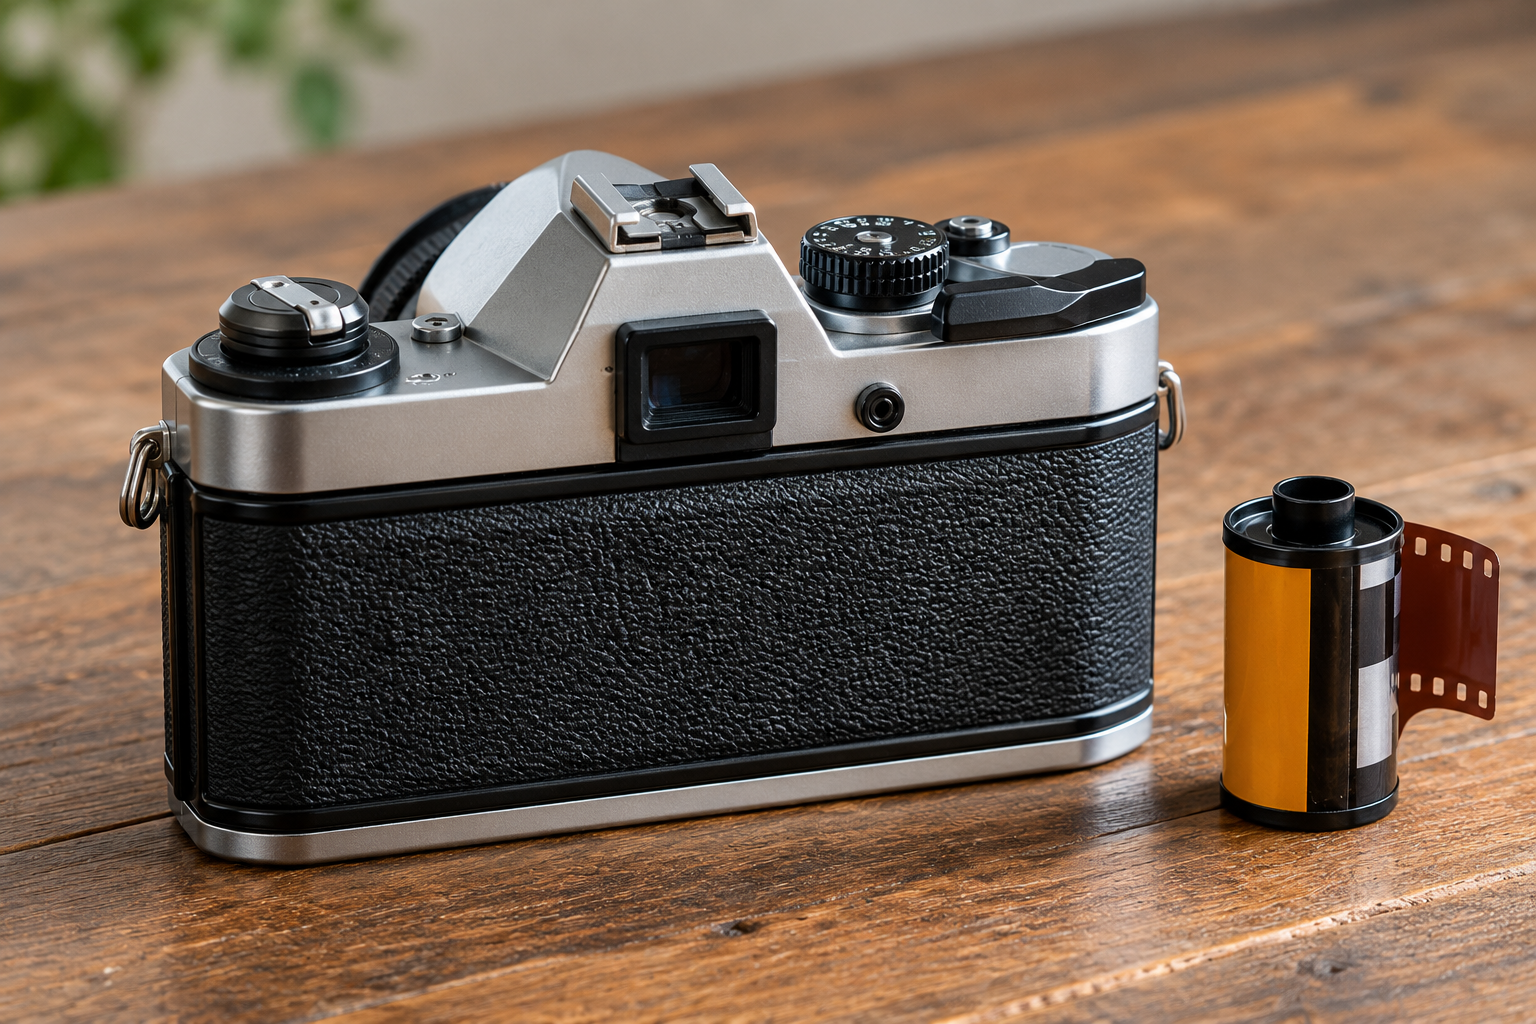
First, identify your camera’s film transport
Before touching the film leader, work out how your camera moves film. A manual SLR and a motorized camera may accept the same 35mm cassette but require different loading steps. This quick comparison shows where the procedures separate.
| Camera mechanism | Loading | End-of-roll rewind |
|---|---|---|
| Manual advance and rewind | Usually thread the leader into a take-up spool and advance by lever or wheel. | Usually press a rewind release and turn a rewind crank in the indicated direction. |
| Motorized loading and rewind | Usually pull the leader to a marked position, close the back, and let the motor advance. | Usually rewinds automatically at the end; some models provide a mid-roll rewind control. |
| Unusual or bottom-loading designs | May require a camera-specific leader length, spool, or loading sequence. | Follow the model’s manual rather than a generic checklist. |
Look for your camera’s model name before experimenting with unfamiliar controls. The Canon EOS-1V, for example, uses an orange leader-alignment mark before automatic advance. A manually wound Nikon EL2 uses a different procedure. [Canon EOS-1V manual] [Nikon EL2 manual]
How to load 35mm film in a manual camera
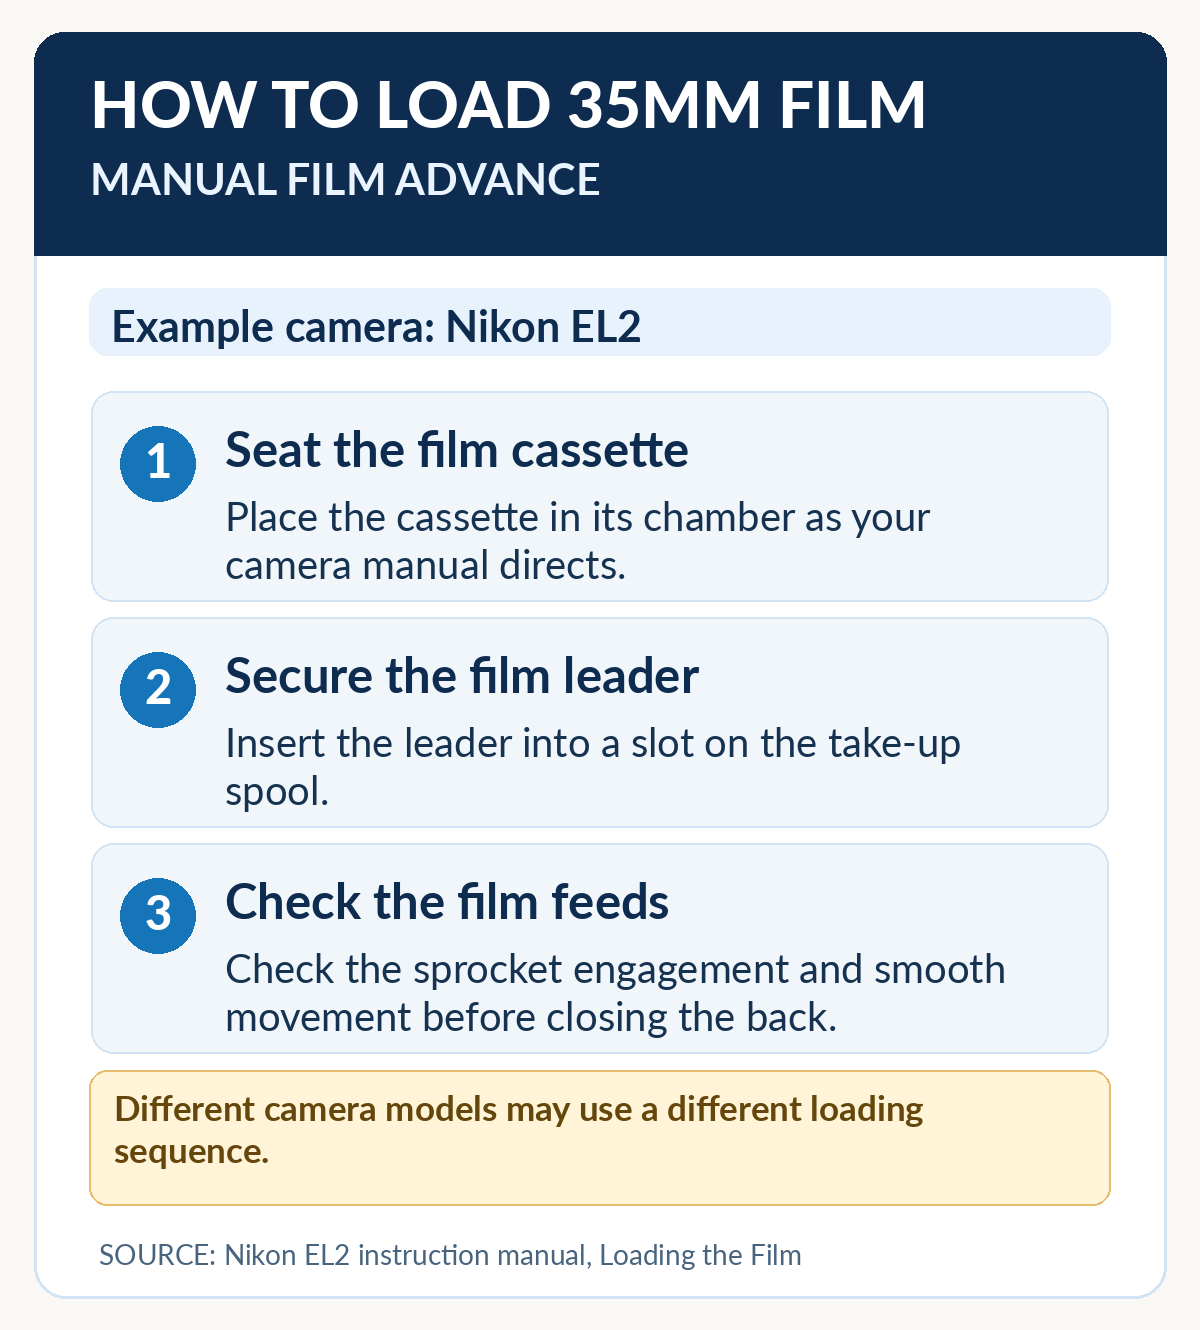
1. Choose a clean, shaded place
A normal 35mm cassette protects most of the film, so you do not need a darkroom to load it. Choose a clean spot out of strong sunlight, and pull out only the leader you need. Before opening the back, make sure there is no previous roll still inside.
2. Open the camera back and insert the cassette
Find the back-release control before pulling on anything: some manual SLRs open when you lift the rewind knob, while others use a separate latch. Place the cassette in its chamber and seat the rewind spindle or retaining mechanism as directed for your model. Keep fingers away from the shutter curtains; if a latch resists, do not force it.
3. Pull the leader across and engage the take-up spool
Pull the shaped leader just far enough to reach the take-up spool. Depending on the camera, it may slide into a spool slot or catch on small hooks or tabs. Check two things before going further: the holes along the film edge sit on the sprocket teeth, and the film lies flat without twisting or bunching. A leader that merely rests against the spool may not advance with it.
4. Check that the film catches
This is the check worth taking time over. If your camera permits advancing with the back open, move the film gently and watch whether the take-up spool pulls it evenly. Once the leader is secure, close the back. On many manual cameras, a rewind knob that turns during advance is another useful clue that the film is moving, although not every camera behaves this way.
If the film does not seem to move, stop before shooting the rest of the roll. A leader that has come loose can leave you with blank frames even when the shutter operates normally. ILFORD identifies loading and film-advance failures among the causes of negatives with no images. [ILFORD: Common Processing Problems]
5. Advance to frame 1
With the back closed, follow the camera’s start-of-roll sequence. Many manual cameras need more than one advance-and-shutter cycle before the counter reaches frame 1, but the number is not universal. If your camera has a manual film-speed setting, match it to the cassette’s ISO. For a daylight exposure starting point, see our Sunny 16 Rule guide.
How to load film in an automatic or motorized camera
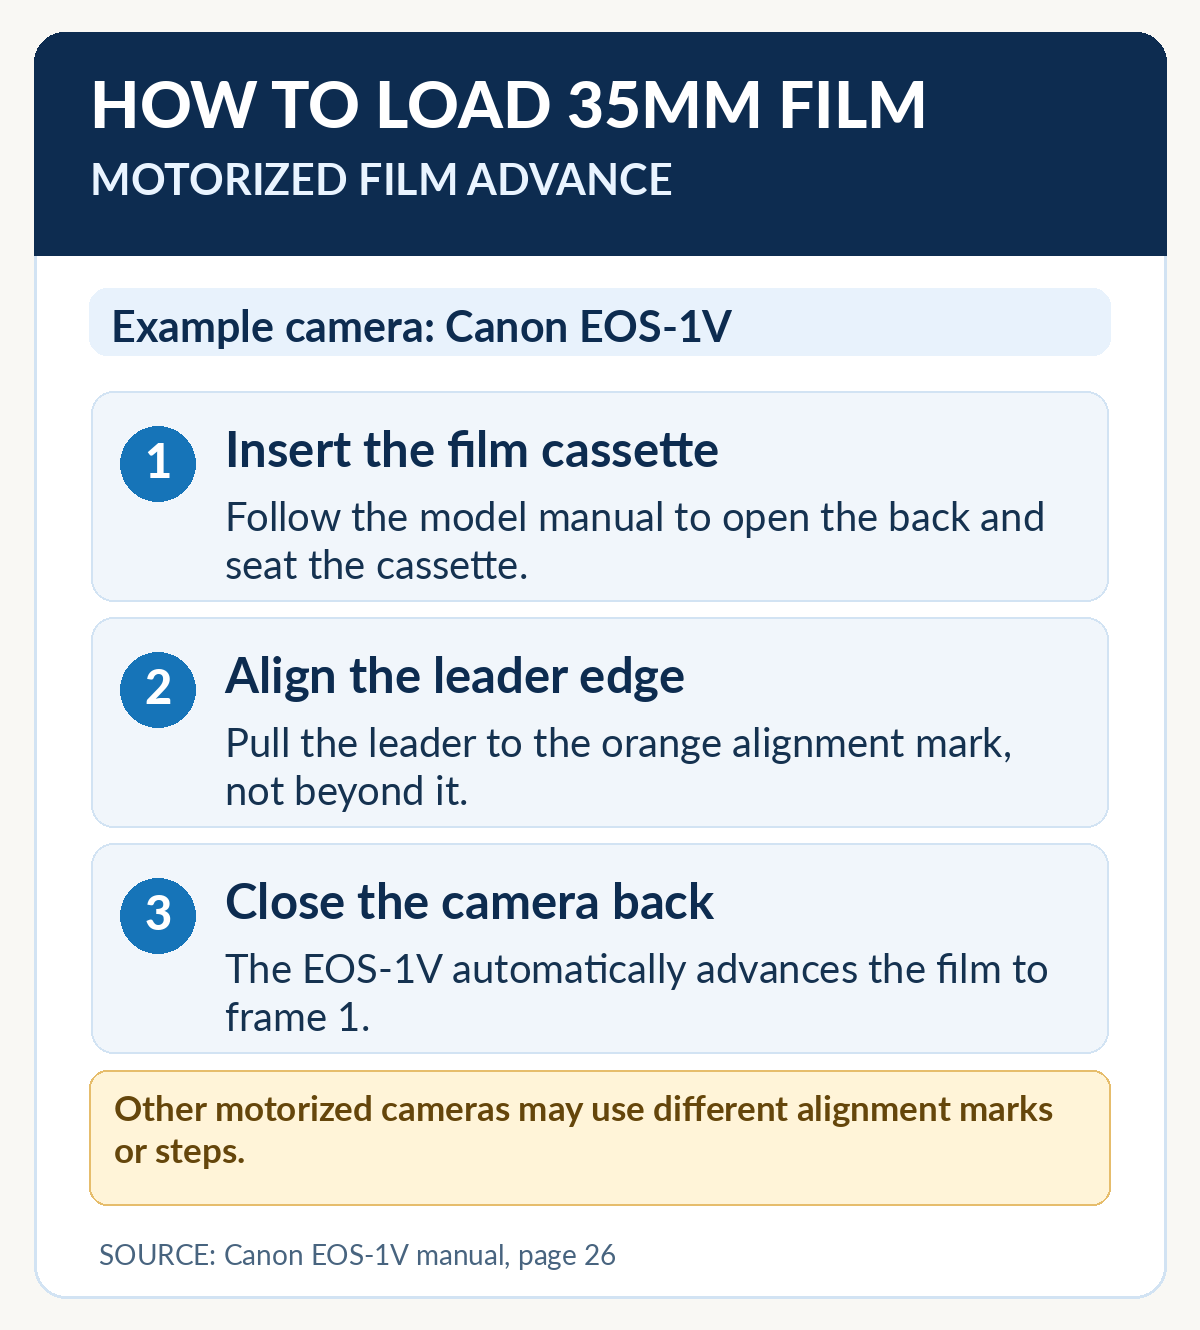
A motorized camera often makes loading simpler, but watch the leader-alignment mark rather than guessing how much film to pull out:
- Open the rear door as the camera manual directs.
- Insert the cassette in the marked chamber.
- Pull the leader to the camera’s alignment mark; do not extend it past the mark unless instructed.
- Close the back and allow the motor to advance. Look for the frame-1 indication or any film-load warning.
- If the camera reports a load error, stop and check the manual before reopening the back.
On the Canon EOS-1V, the orange mark tells you where to place the leader before you close the back. The camera then advances to frame 1 automatically. Treat that as a specific example, not a rule for every motorized model. [Canon EOS-1V instruction manual]
Before you rewind: The frame counter is only a guide to how far the camera has cycled; it does not prove that the film advanced correctly or that photographs were recorded. Follow your camera’s end-of-roll instructions, and do not open the back until rewinding is complete.
How to rewind 35mm film safely
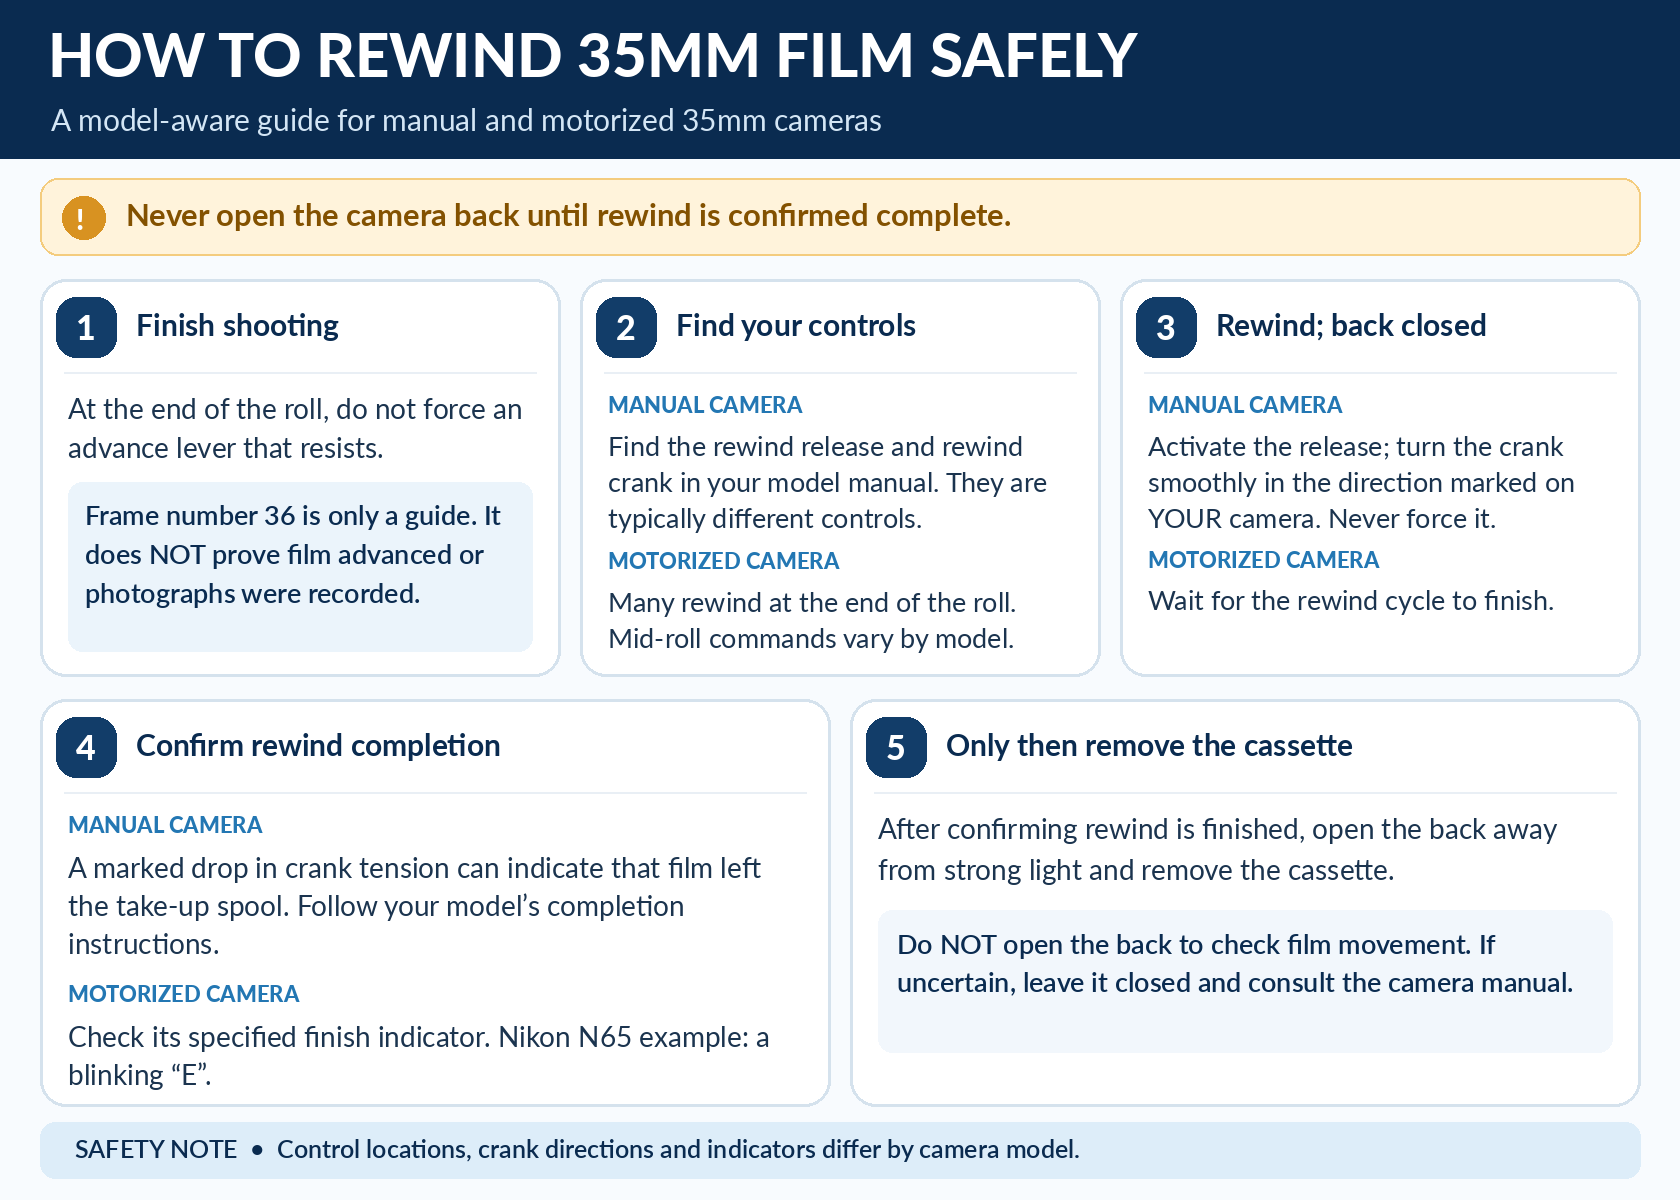
Manual rewind: release, turn, confirm, open
- Stop at the end of the roll. If the advance lever becomes unusually stiff or will not advance, do not force it; you could damage the film.
- Release the advance mechanism. On many manual cameras, press the small rewind-release button on the underside. Other cameras use a lever or a different control.
- Turn the rewind crank as marked. Rotate smoothly in the direction shown on your camera. Expect resistance while film moves back into the cassette.
- Wait until rewinding is complete. On many cameras, the resistance drops noticeably when the film separates from the take-up spool. If unsure, consult the camera manual before opening.
- Open the back and remove the cassette. Do this only after the exposed film is safely rewound. Keep the cassette labeled and ready for processing.
The Nikon EL2 manual makes the sequence concrete: never force the advance lever at the end of a roll. Press the rewind release, turn the crank in the indicated direction, and continue until the tension disappears. [Nikon EL2 instruction manual]
Automatic rewind: wait for the motor
With a motorized camera, wait for the rewind-complete indication rather than opening the back when shooting stops. Many models rewind automatically at the end of the roll; some offer a separate control for rewinding early. The Nikon N65 manual, for instance, describes both a completion display and a mid-roll rewind procedure. Never open the back while the motor is still rewinding. [Nikon N65 instruction manual]
Quick troubleshooting: what went wrong?
If the camera feels different from one frame to the next, pause rather than forcing the controls. Use the symptom below to decide what to check first.
| Symptom | Likely explanation | Safest next step |
|---|---|---|
| Frame counter advances, but film movement is uncertain | Leader may not be engaging on some manual designs. | Check your camera’s movement indicator or manual; avoid assuming the counter proves that film advanced. |
| Film advance lever stops near the end of the roll | Roll may be finished. | Do not force the lever. Begin the model-specific rewind procedure. |
| Rewind crank feels unusually hard to turn | Transport release may not be engaged, or film may be jammed. | Stop. Verify the rewind release and camera manual; do not pull or tear the film. |
| Automatic camera shows a loading error | Film may not have reached the leader mark or motor movement failed. | Consult the manual; check battery condition if the manufacturer identifies it as relevant. |
| Camera back opened before rewinding | Exposed film may have been fogged by light. | Close the back immediately. Do not assume all images are lost; ask a film lab how to handle the roll. |
| Processed negatives have edge markings but no photos | Film may have failed to advance during shooting. | Inspect camera loading and advance operation before the next roll. See ILFORD’s troubleshooting guidance. |
Can you rewind a film roll before it’s finished?
Yes, on many cameras—but think about what you want to do with the unused frames. Some cameras pull the leader completely into the cassette during rewind. If you intend to reload the same roll, note the frame count and consult instructions for your model: a careless reload can expose or double-expose photographs. Do not open the camera just to see how much film remains.
What to do after removing the film
Once the cassette is safely out, label it as exposed and put it in its container if you have one. Keep it away from unnecessary heat. You can send it to a lab, or process compatible film yourself with the right equipment and chemistry. If you want the home-processing route, start with our How to Develop Film at Home guide. After developing, use our guide to scanning film negatives to create digital files.
Pre-shoot and end-of-roll checklist
- Before shooting: confirm camera type, correct cassette seating, secured leader, proper film movement or load confirmation, correct starting frame, and ISO setting where applicable.
- Before opening the back: confirm rewind release/automatic rewind was used and the camera indicates completion.
- When in doubt: stop rather than forcing the camera. A model-specific manual is safer than generic advice.
References and further reading
- ILFORD Photo — Common Film Processing Problems (incorrect loading and blank negatives).
- Canon — EOS-1V Instruction Manual (motorized film loading and leader alignment).
- Nikon — EL2 Instruction Manual (manual transport and rewind precautions).
- Nikon — N65/N65QD Instruction Manual (automatic and mid-roll rewind).
These are general educational instructions. Mechanisms differ across cameras; refer to your exact model’s manual before loading, unloading, or attempting a jam recovery.