
Developing film at home is a multi-step chemical process: you load your film into a light-tight tank, pour a series of chemicals through it, then wash, dry, and scan the negatives. This guide covers the general beginner workflow, the equipment and safety basics, and what it costs — without assuming you have a dedicated darkroom.
Quick answer: Yes — you can develop film at home without a dedicated darkroom. A changing bag (or a light-tight room or closet) is all you need for the film-loading step.
Can you develop film at home without a darkroom?
Yes. A dedicated, specially-built darkroom is not required. The step that must happen in complete darkness is loading the film onto the developing reel, and for that a changing bag (or a light-tight room or closet) is a valid option.
Equipment you need
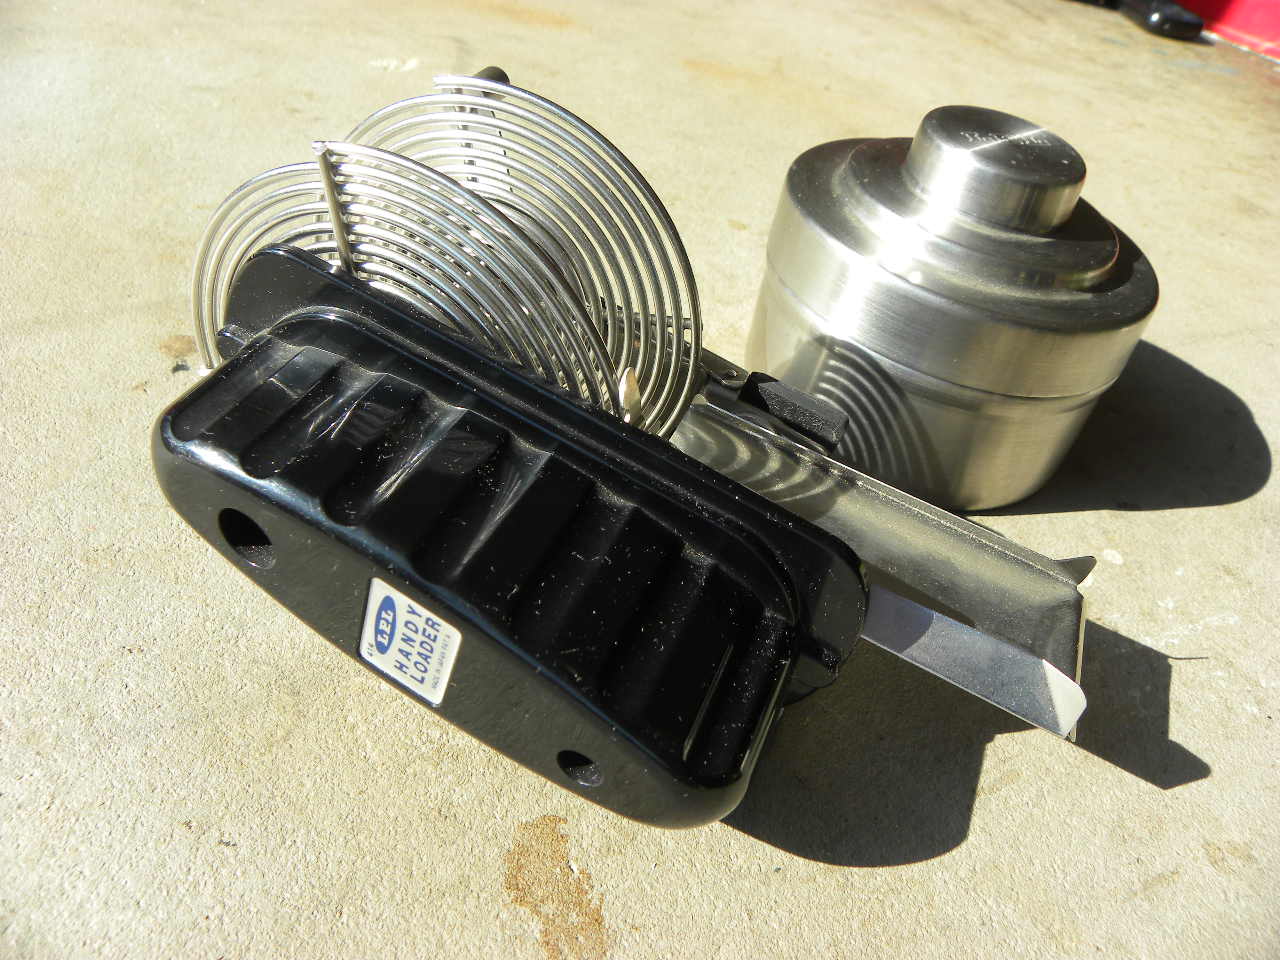
The basic setup includes:
_%26_Handy_Loader_(51878855221).jpg)
- A changing bag, or a completely dark room, for loading.
- A film opener and scissors.
- A developing tank and reels.
- Chemicals (for the cited ILFORD black-and-white setup): developer, stop bath, fixer, and optionally a wetting agent.
- A thermometer and measuring vessels for mixing chemicals accurately.
Safety before you start
Safety note: The following precautions are from the Ilfosol 3 Film Developer Safety Data Sheet — wear gloves and protective clothing, wear eye protection, and work with adequate ventilation or local exhaust. Each chemical must be handled according to its own label and Safety Data Sheet (SDS); do not assume the precautions for one product apply to another.
Black-and-white vs C-41 development
In the cited ILFORD beginner-processing example, black-and-white film is developed through a developer → stop bath → fixer → wash sequence. Color negative film uses a different process known as C-41. Each has its own chemistry and its own time-and-temperature requirements, shown as manufacturer examples below.
General step-by-step workflow
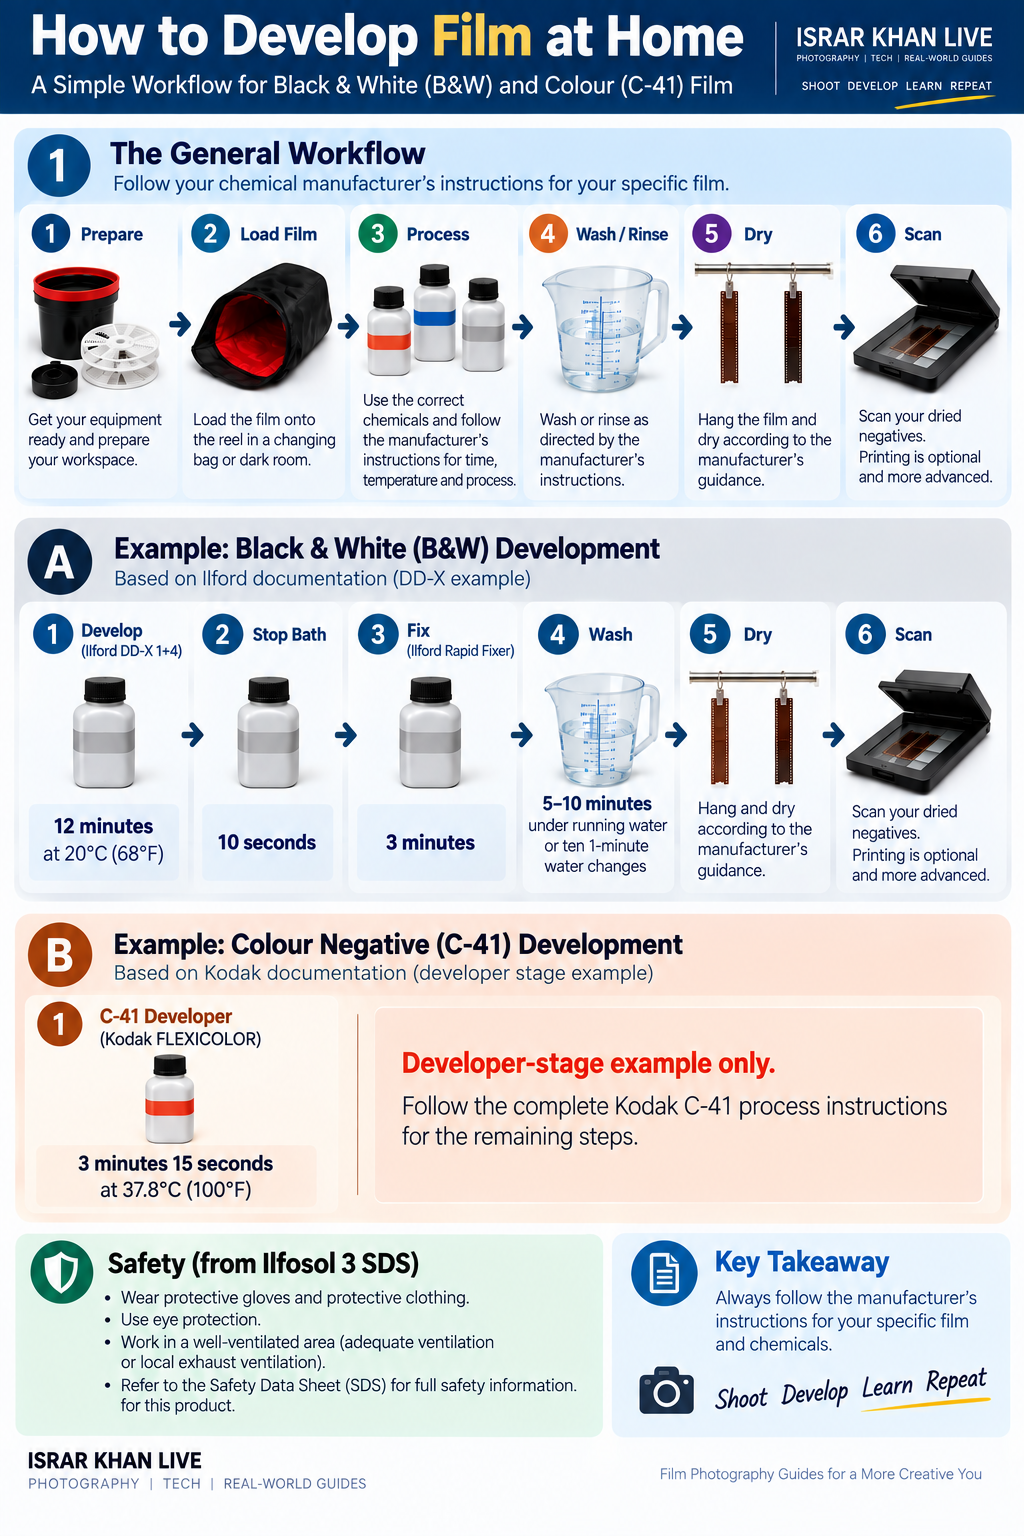
At a high level, both black-and-white and color-negative home processing involve loading the film in darkness, controlled chemical processing, washing and rinsing as directed, drying, and then scanning. The shared description is workflow-level only; the chemistry, sequence, times, and temperatures are process- and product-specific.
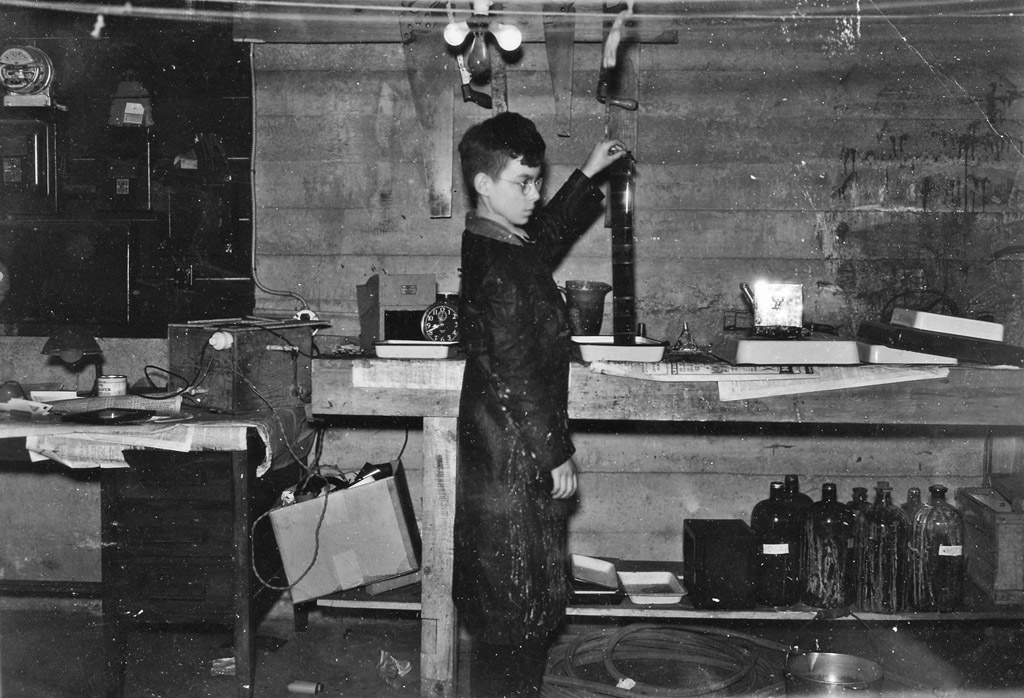

- In darkness (or in a changing bag), open the cassette and load the film onto the reel, then place the reel in the tank.
- Process the film using the chemistry, sequence, times, and temperatures specified for the particular process and products you are using. The ILFORD black-and-white and Kodak C-41 examples below illustrate how those instructions differ.
- After washing, dry the negatives.
- Scan the dried negatives.
Manufacturer-specific examples
The figures below are examples for the specific products cited — they are not universal recipes.
Example: one ILFORD black-and-white workflow
This is an example for the cited ILFORD products and published conditions, NOT a universal recipe. Readers must follow the instructions supplied for the actual film and chemistry they use.
- Load the film onto the reel in darkness (or in a changing bag), then place the reel in the tank.
- Develop with DD-X diluted 1+4 for 12 minutes at 20°C / 68°F.
- Stop bath for 10 seconds.
- Fix with Rapid Fixer for 3 minutes.
- Wash for 5–10 minutes in running water, or use ten 1-minute water changes.
- Dry the negatives according to the manufacturer’s guidance.
- Scan the dried negatives.
Kodak example — color negative (FLEXICOLOR, C-41)
- Developer: 3 minutes 15 seconds at 37.8°C / 100°F.
These figures apply only to the cited products and their published conditions.
Washing, drying and scanning
For the cited ILFORD black-and-white example, the washing guidance is 5–10 minutes in running water, or ten 1-minute changes of water. For this example, dry the negatives following the manufacturer’s drying guidance. Scanning is the primary way to turn your negatives into digital images; printing is optional and more advanced.
Common beginner mistakes
The manufacturer guides highlight a few areas where beginners should take care; follow the manufacturer instructions on each:
- Loading the film correctly onto the reel in darkness.
- Controlling temperature during processing.
- Avoiding contamination between chemicals.
- Drying the film properly to avoid damage.
Cost: home development vs lab
Observed home-development starter examples in the dated examples cited below span roughly USD 32–144, but they are not directly comparable: the lower example is chemistry-only, while the higher example includes hardware plus chemistry.
Observed lab develop-only examples span USD 6–11 per roll.
| Approach | Observed example range | Note |
|---|---|---|
| Home development (starter kit) | roughly USD 32–144 | Chemistry-only vs hardware + chemistry; not directly comparable |
| Lab develop-only | USD 6–11 per roll | Per roll |
These dated examples are not sufficient to conclude that home developing is always cheaper than lab processing.
FAQ
- Can you develop film at home without a darkroom? Yes. You do not need a dedicated darkroom; a changing bag or another completely dark space can be used for the film-loading step.
- What equipment do I need? A changing bag, tank and reels, chemicals, a thermometer, and measuring vessels.
- What process does color negative film use? C-41.
- Is home developing always cheaper than a lab? Not necessarily — see the dated cost examples above.
Sources
- Ilford/Harman, “Ilfosol 3 Film Developer USA/CAN Safety Data Sheet”
- Ilford, “Processing Your First Black & White Film”
- Kodak, “Using KODAK FLEXICOLOR Chemicals in Small Tanks” (CIS-211)
- B&H — ILFORD SIMPLICITY Starter Pack (price observed 2026-09-15)
- B&H — Paterson Film Processing Starter Kit (price observed 2026-09-15)
- Memphis Film Lab
- The Darkroom
Image credits: “LPL 35mm Stainless Steel Developing Tank and Reels (2X) & Handy Loader” by Joost J. Bakker IJmuiden, and “DevelopingFilm1937” by Don O’Brien, both licensed under CC BY 2.0 via Wikimedia Commons.